
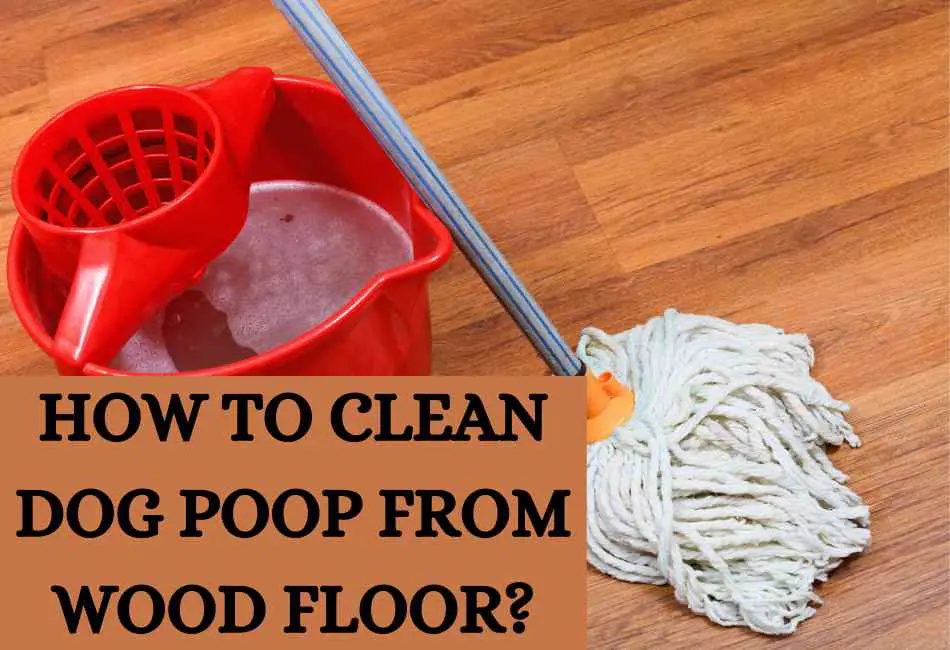
Caring for our furry friends is a joy, but dealing with their messes? Not so much. One common challenge many pet owners face is the unsightly and unsavory task of cleaning dog poop from wood floors.
It’s not only about aesthetics; prompt and proper cleanup is crucial in preventing permanent damage to your precious flooring. Whether it’s a potty-training puppy or an older dog having an off day, accidents happen.
But fear not! You don’t have to resort to harsh chemicals or spend a fortune on professional cleaning services.
This article promises to provide effective DIY solutions to transform this stressful task into a breeze. Fasten your seatbelts, folks—it’s time to dive into the world of stress-free cleanup!
1. White Vinegar and Water Solution
One day, my pup Charlie decided that the living room was his new bathroom, and my beautiful oak floor was his preferred spot. Ever since, I’ve used a simple, tried-and-true solution for these little ‘surprises.’
Mixing Proportions for an Effective Solution
First, the recipe. The most effective solution is a mixture of one part white vinegar to two parts water. That’s it! You don’t need tons of vinegar. Just enough to tap into its cleaning power.
Application Method to Lift Stains Without Damaging the Wood
Next, let’s talk about applications. After picking up the solids, I use a microfiber cloth to apply the solution to the stain.
It’s important not to soak the area. Instead, dampen the cloth with your vinegar-water mix and gently scrub. A soft touch is key – remember, we’re saving a beloved floor here!
Benefits of Using White Vinegar
You might be wondering, why white vinegar? Besides being a safe, natural alternative to harsh chemicals, it’s a cleaning powerhouse.
It has antibacterial properties that help sanitize the area. In addition, it acts as a natural deodorizer, absorbing foul odors and leaving your room fresh and clean.
Trust me, after adopting this method, the cleanup after Charlie’s ‘accidents’ became much less stressful!
2. Baking Soda and Lemon
When I was starting to think nothing could top my vinegar and water solution, I stumbled upon another DIY gem: the baking soda and lemon duo.
One evening, while baking some lemon cookies (they were delicious, by the way), I wondered if I could use these ingredients for more than satisfying my sweet tooth.
After some experimentation, I found they were perfect for tackling tougher stains than Charlie’s usual messes.
Creating a Paste for Stain Removal
The first step is creating a paste that packs a punch against stubborn stains. All you need is one part baking soda and one part lemon juice.
Mix until it forms a paste, not too runny or thick—just the right consistency to apply to the stain.
Gentle Scrubbing Technique to Avoid Scratching the Wood
The trick with this paste is to apply it gently to the stain. With a cloth or sponge, I smear the paste onto the stain.
Then, using small, circular motions, I scrub the area. I’ve found this method very effective without causing unnecessary scratches to the wood.
Lemon’s Natural Deodorizing Effect for a Fresh Finish
One added benefit of lemon in this concoction is its natural deodorizing effect. The strong, refreshing scent of lemon immediately replaces any unpleasant odor with a fresh, zesty aroma.
I’ve started associating the smell of lemon with a clean, stain-free floor. It’s a mental trick that helps make the cleanup process feel less like a chore.
So, next time you find yourself in a sticky stain situation, don’t fret. Just reach into your kitchen cupboard and whip up some of this lemony fresh magic!
3. Hydrogen Peroxide and Dish Soap
There’s another dynamic duo in town that’s sure to wage war against the most stubborn stains.
Mix equal parts of hydrogen peroxide and dish soap to create a potent solution that can work wonders. I recall a time when I had accidentally spilled red wine on my favorite white shirt.
It seemed like a hopeless situation until I decided to try this mixture. To my astonishment, the stain disappeared as if it was never there!
Applying the Stain-Eliminating Solution
Using this solution is as easy as pie. Apply the mixture directly to the stain. Use a soft cloth or sponge and apply it using gentle circular motions, much like our baking soda and lemon paste technique.
The hydrogen peroxide breaks down the stain, while the dish soap lifts it from the surface.
I remember when my adorable lab, Charlie, had an accident on the rug. I used this solution, and not only was the stain gone, but so was the odor!
Safety First: Using a Diluted Mixture
While this solution can seem like a miracle worker, it’s important to remember that hydrogen peroxide can bleach fabrics if used in high concentrations.
I learned this the hard way when I applied a strong mixture to a dark-colored cushion cover, only to find it had lightened the fabric.
Ever since I have recommended using a diluted mixture to avoid any discoloration. A 3% hydrogen peroxide solution, which is commonly available, is usually safe for most fabrics.
Just remember: when it comes to stubborn stains, this powerful blend of hydrogen peroxide and dish soap can be a real game-changer!
4. Enzymatic Cleaner
Enzymatic cleaners, believe it or not, are a pet parent’s best friend. Why, you ask? Well, these miracle workers eat up the organic matter in stains, such as that pesky dog poop we all dread.
I first discovered the magic of enzymatic cleaners when Charlie was a pup. He had a knack for leaving little surprises around the house.
Traditional cleaning methods weren’t working, but introducing an enzymatic cleaner was a game-changer. I was honestly amazed at how effectively it eliminated stains and odors.
Proper Application to Break Down Organic Matter in Dog Poop
Using an enzymatic cleaner isn’t rocket science. The trick is to let the cleaner do its job. Apply the cleaner to the ‘surprise’ left by your beloved fur baby, then patiently wait.
I recommend leaving it for at least fifteen minutes. I remember being quite skeptical initially. I mean, how could a cleaner ‘digest’ the stain away?
But lo and behold, when I returned, the stain was almost invisible, and the odor was significantly reduced. The enzymes in the cleaner had broken down the organic matter, essentially gobbling it up!
Advantages of Enzymatic Cleaners for Thorough and Odor-Free Results
Compounds in dog poop can’t be eliminated with conventional cleaners; believe me, I tried. That’s why enzymatic cleaners are such a godsend.
They don’t just mask the odor; they break down the odor-causing compounds to give lasting freshness. They’re typically non-toxic, making them safe for our fur babies!
After success with Charlie’s Stains, I’ve been a staunch advocate for enzymatic cleaners. They provide an unmatched safe, thorough, and odor-free cleaning experience. Once you try them, there’s just no going back!
5. Cornstarch or Talcum Powder
Remember the time when Charlie decided to make my brand-new oak dining table his bathroom? Yes, that was fun! I quickly discovered that cornstarch, of all things, was my unlikely savior.
When you spot that unwelcome ‘gift, ‘ sprinkle a generous amount of cornstarch or talcum powder.
These powders are excellent absorbents and start to soak up the moisture immediately, preventing the stain from seeping deeper into the wood grain.
Gently Brushing Away Dried Residue Without Harming the Wood
Once the powder has done its job and the stain is dry, gently sweep it off the surface with a soft brush.
I learned this the hard way when, in a panic, I tried to scrub away Charlie’s mess using a hard-bristled brush.
Let’s say the scratch it left behind constantly reminded me of my mistake. The residue comes off easily with cornstarch or talcum powder, leaving your precious wood unscathed.
Benefits of These Powders for Stain Removal
One of the things I love about using these powders is that they’re not just effective but also safe and easy to find in most homes.
Harsh chemicals won’t damage your wood finish. Plus, they have a pleasant, mild scent that isn’t overpowering like some cleaning products.
And a bonus: if you’re using talcum powder, it tends to leave your wood with a soft sheen! Who knew stain removal could have such fringe benefits?
Tips for Effective Cleanup
Importance of Immediate Action
The saying “time is of the essence” rings exceptionally true when cleaning up stains on wood.
The longer a stain sits, the more it penetrates the wood grain and becomes a more permanent, unwelcome guest.
I remember one unfortunate incident involving a spilled glass of red wine and a delay in cleaning it up due to an unexpected phone call.
By the time I got back to the spill, my beautiful maple coffee table had a reminder of that evening permanently etched into its grain. So, whenever you notice a spill or stain, act immediately!
Use of Appropriate Tools and Materials
Using the right tools and materials for cleanup is as important as a swift response. In my early days of wood care, I used a steel wool pad to clean a coffee stain off my pine bookshelf.
While the stain came off, ugly scratches far worse than the stain itself were left behind. The lesson: always use soft cloths, gentle brushes, and non-abrasive cleaners when tidying up.
Gentle Cleaning Techniques to Avoid Damaging the Wood
When dealing with wood, always remember: it’s a marathon, not a sprint. A gentle, patient approach always yields better results.
During one of my vacations, a sunscreen lotion spill on my teak patio furniture led me to a cleaning frenzy.
I scrubbed with all my might, only to realize later that I had scrubbed off the finish along with the lotion. So, take it easy, and rely on gentle blotting and rubbing techniques.
Checking for Any Residual Odor and Addressing It Effectively
Last but not least, always check for any residual odors. A sour-smelling wood surface can be quite a turn-off.
When Charlie used my dining table as his restroom, a lingering whiff remained even after the mess was gone.
That’s when I started using a diluted vinegar solution as the final rinse—it works wonders in eliminating odors. Just remember to dry the surface thoroughly afterward.
These tips have been my lifesavers in maintaining the beauty of my wooden furniture. With immediate action, the right tools, gentle cleaning, and odor check, you can keep your precious wood items looking their best!
Conclusion
Alright, folks, let’s quickly recap everything we’ve been over. We’ve discussed five tried and tested methods for cleaning dog poop from wood floors: immediate action, using the right tools, employing gentle cleaning techniques, checking for any residual odors, and addressing them effectively.
Each method has its unique benefits, and they all serve to maintain the integrity and beauty of your wooden surfaces.
Remember, in any cleaning crisis, speed is your best friend. Remember my pine bookshelf incident, where a swift response saved the day? Quick action helps prevent the mess from seeping into the wood grain, causing more harm.
Now, don’t be afraid to experiment. Just as I did when dealing with Charlie’s little accident, you might find that some solutions work better than others depending on the severity of the stain or the type of wood you’re dealing with.
Ultimately, it’s all about creating a healthy and comfortable living environment for you and your furry pals. When your home is clean and fresh, it becomes a haven of happiness for everyone.
Whether dealing with a little ‘oops’ from your elder dog or a potty-training puppy, remember to stay patient, act fast, and keep your sense of humor intact – you’ll need it!